
It was about fine time that I included a blog post about what might possibly be among the most quintessential staple recipes that any kitchen should witness: roast chicken. It is as classic as the little black dress is to fashion. Comforting, genuine, versatile, universal and always a crowd pleaser. Lunch, dinner, leftovers, chicken thighs or breast, skin or without- anything goes! Everyone has 'their' perfect recipe, tricks they've read in cook books, tips they've heard through the grapevine and treasured tools and ingredients they keep in a safebox (well, maybe not). Not too long ago, I may have achieved my best version to date. The process is a simplistic one that ultimately comes down to a few steps (but much patience!) I put together based on experience and research. Ah yes, I'm certainly the nerdy type when it comes to cooking.
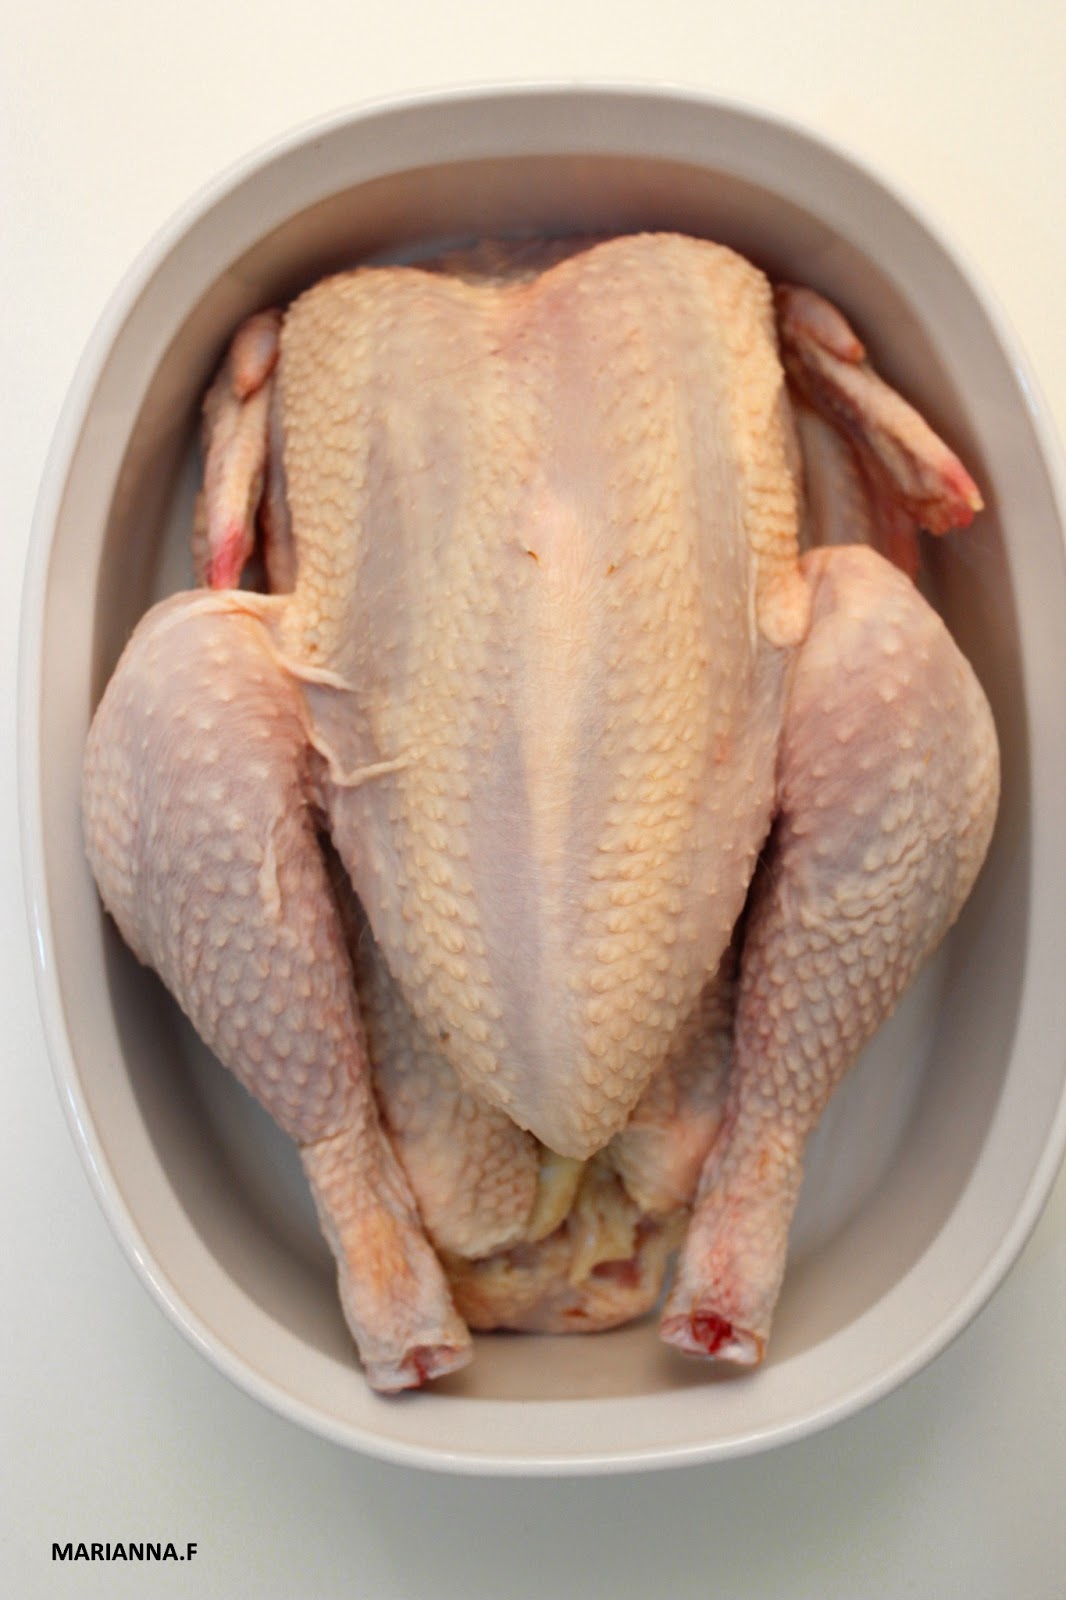
1) Get introduced, on an intimate level. After buying your chicken, you will want to pamper it- yes, I just wrote pamper your chicken. Think of it as some poultry R&R, a spa treatment involving bathing, soaking, rubbing... So first things first: brining the chicken. This will help lead to a more tender end result. Fill a large container with cold water and salt (60gr for each liter) and let the chicken rest in this mixture for at least 1 hour (some may even leave it overnight in the fridge). Then rinse well, make sure you get rid of any of the nasty stuff that might have still been stuck in the insides and pat dry. I repeat: pat dry, we don't want to be working with a watered down chicken here.
2) Shove it, stuff it! This step involves getting down and dirty for a bit. Shove it with whatever your choice may be- a classic that always works is lemon & garlic. Prior to this however, season the insides with salt and pepper...make sure to rub those insides real well!

3) Rub it. Most base 'rubbing mixes' will include butter coupled with other seasonings. The technical term for this 'rub' is actually called 'compound butter'. Mine included melted butter, freshly squeezed lemon juice, chopped garlic, salt, pepper and... yoghurt! I sometimes brush my chicken with yoghurt as I feel it helps tenderize it even more.

4) Roast it. There is much debate around roasting temperatures and times. Every recipe will tell you something different. Personally, I will roast mine at a lower heat for a longer time which leads to a gradual, slower but better overall result. For a 3kg / 6.7 lbs chicken my cooking times were:
- 1 hour in a preheated oven set to 120C/ 250F. The chicken was covered with aluminum during this time.
- 2 x 30 minutes at 180C/350F- uncovered. After the first 30 min, pull out the chicken from the oven. There should be juices on the base: use these to drizzle over and place back for the remaining 30 minutes.
- 30 minutes at 200C/400F- covered with aluminum, drizzled with any remaining juices.
- 20-30 minutes at 200C/400F- uncovered, drizzled with any remaining juices.
Voila! All the alternating might make this all appear complicated, but better to control the cooking process over a longer time period then roasting it quick & easy!

5) Eat it! But just before indulging there's one last step. Once cooked, allow it to rest for 30 minutes. After all it's endured it needs to relax... Then enjoy it with the side dish of your choice. At the end of the day, what you're looking for is a beautiful golden colour, crispy skin, tender meat that falls off the bones, a well cooked chicken bursting with the flavours and intensity of your choice. Good luck!

And remember! As when dealing with any raw meat, keep your hands and surroundings clean throughout the entire process.
No comments:
Post a Comment